The Vision
Building water rockets has been a recurring hobby for me since 2017, but as a Software Engineering student, I wanted to take it to the next level. The goal was no longer just to "make it fly," but to apply engineering principles to create a reliable vehicle capable of recording flight data and deploying a recovery system autonomously.
Initial design phases: from iPad sketching to 3D CAD modeling for the pressure system.
Ground Systems & Pressure
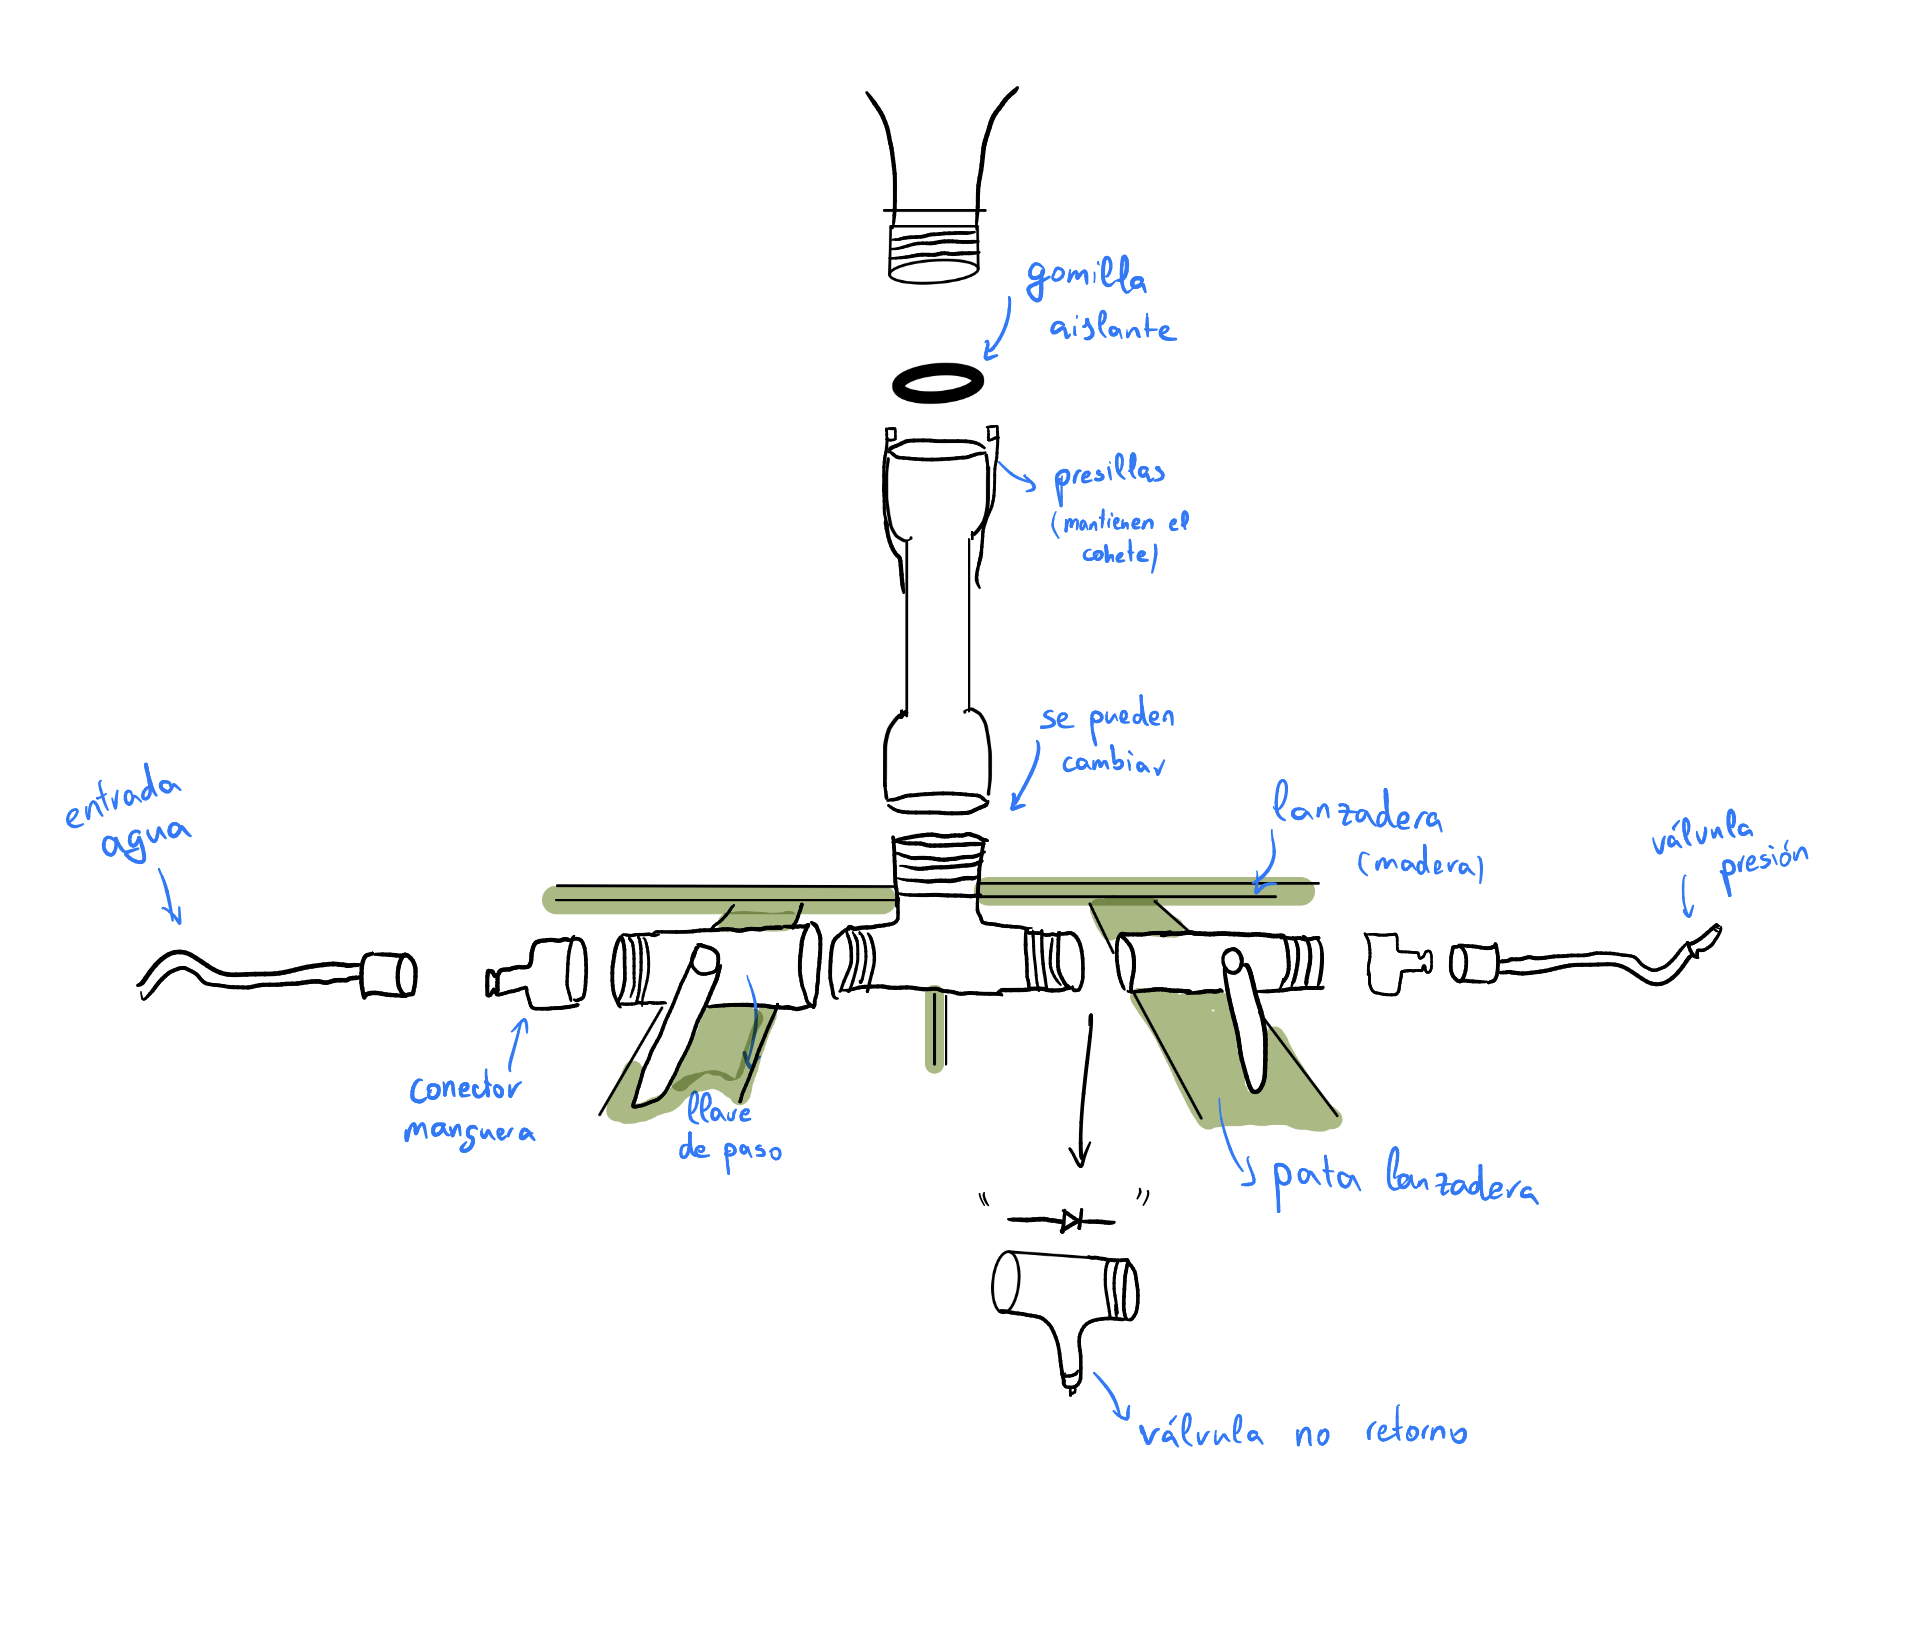
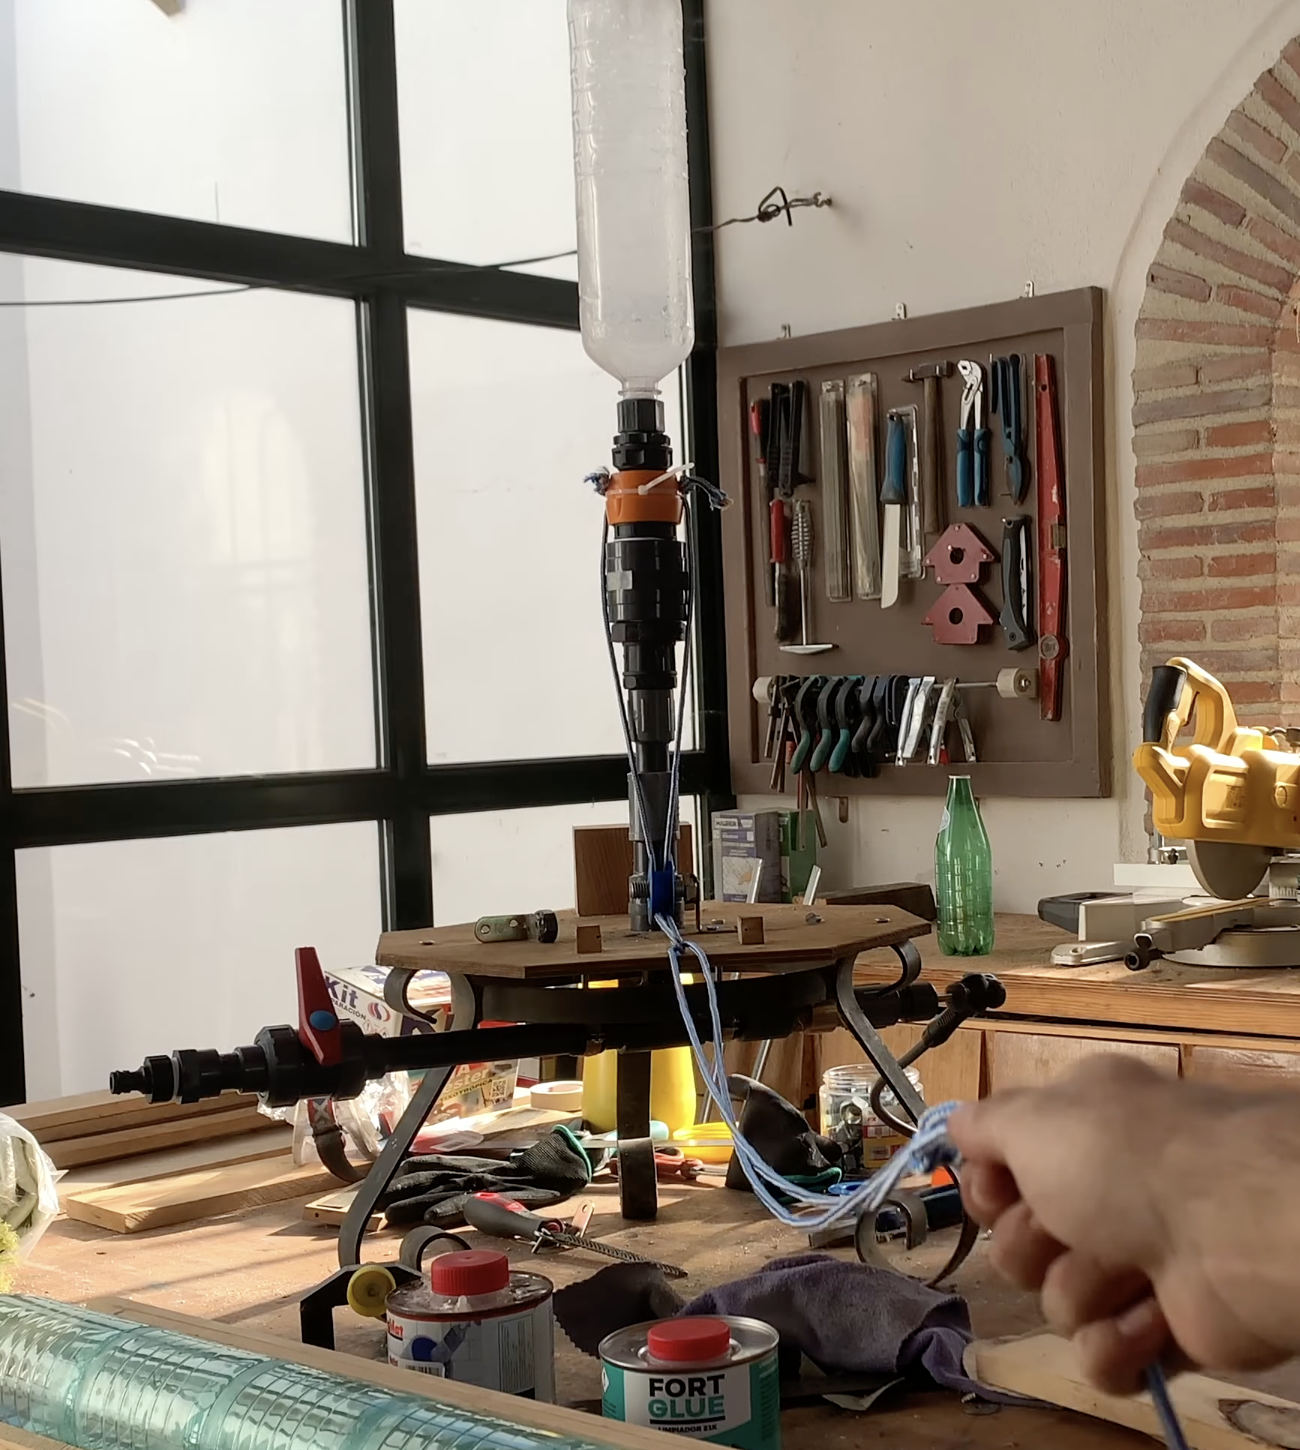
A rocket is only as good as its launch system. I designed a custom PVC launcher capable of withstanding over 6 bars of pressure. The main challenge was the connection mechanism. After several failed attempts with zip ties and rubber gaskets, I pivoted to a high-flow garden quick-connect system.
This solution not only provided a perfect seal but also ensured a massive water flow during the first milliseconds of launch, preventing flight instability caused by low-diameter nozzles.
Aerospace Materials: Fiberglass Reinforcement
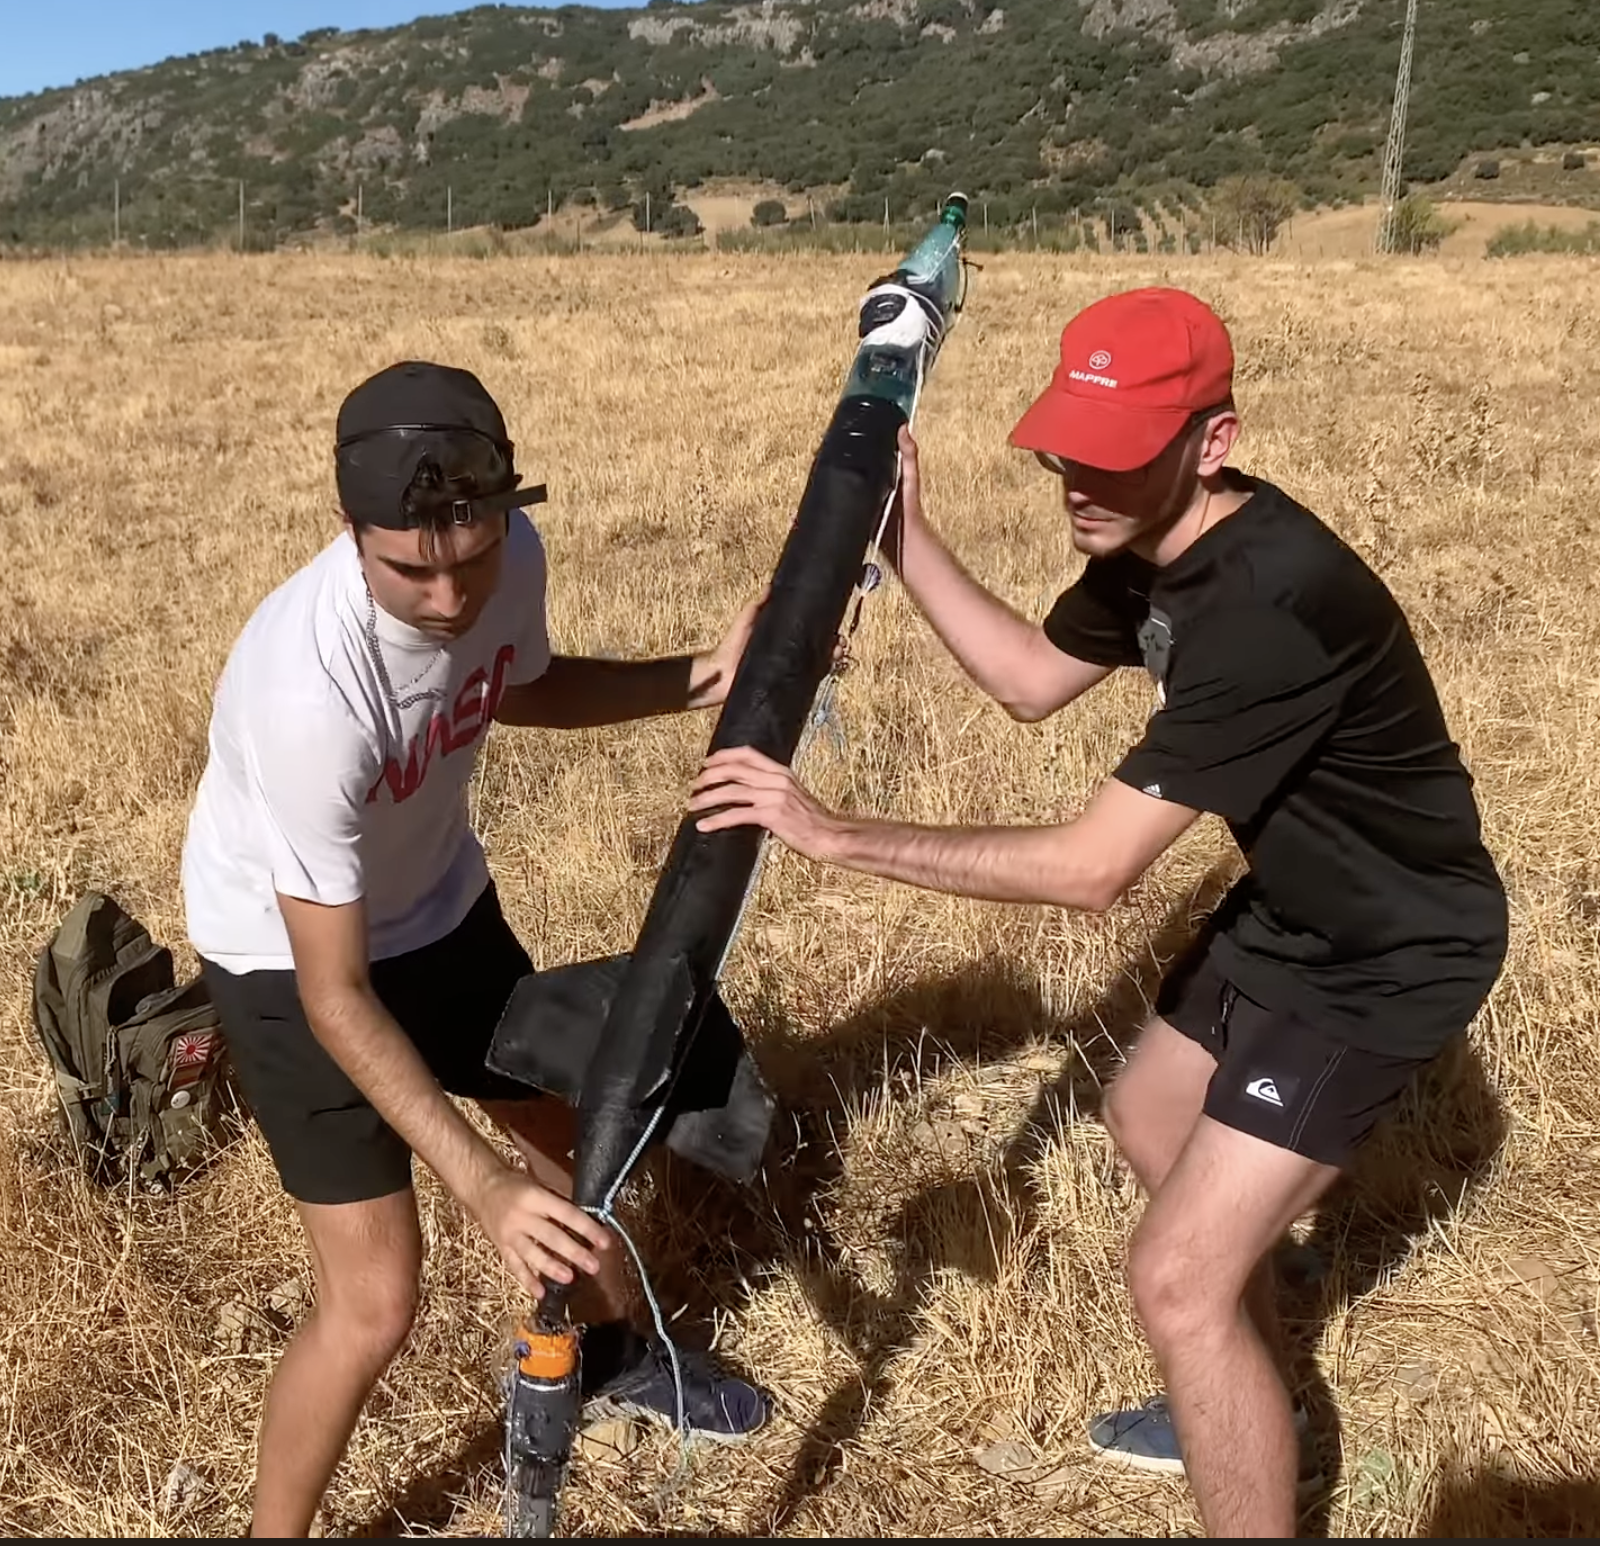
To reach higher altitudes, I needed a tank that wouldn't explode under high pressure. I used carbonated water bottles (for their smooth aerodynamic surface) and reinforced them with fiberglass and resin.
To ensure a perfect lamination, I built a custom rotary machine using a recycled microwave motor and 3D printed parts. This kept the rocket spinning while the resin cured, achieving a uniform and professional finish.
"In rocketry, every gram counts. I stripped down action cameras to their bare PCBs and sensors to save weight, powering them directly from the flight computer's main battery."
3D Printed Parachute Deployment Module
To ensure a reliable recovery, the mechanical design of the payload bay had to be flawless. I designed and 3D-printed a custom module to house the parachute and its deployment mechanism. This structural piece was engineered to be as lightweight as possible while withstanding the high G-forces of the launch.
The most complex part of this design was managing the space and weight distribution. The 3D-printed part features a dedicated compartment for the parachute, utilizing a rubberband-loaded hatch secured by the servomotor. Crucially, stacked directly on top of this parachute module sits all the vital hardware: the flight computer, the stripped-down action camera, and the LiPo battery. This stacked integration kept the center of gravity optimal and ensured the avionics were secure and physically separated from the parachute ejection process. Link to the STL file
The Brain: Arduino Flight Computer
As a software developer, this is the heart of the project. I built a custom PCB around an Arduino Nano. The system integrates a barometric sensor to calculate altitude in real-time and a microSD module to log telemetry at 50 samples per second.
The software implements a state machine that detects the apogee (the highest point of flight) by monitoring pressure changes. Once detected, the computer triggers a servomotor to release the parachute deployment hatch.
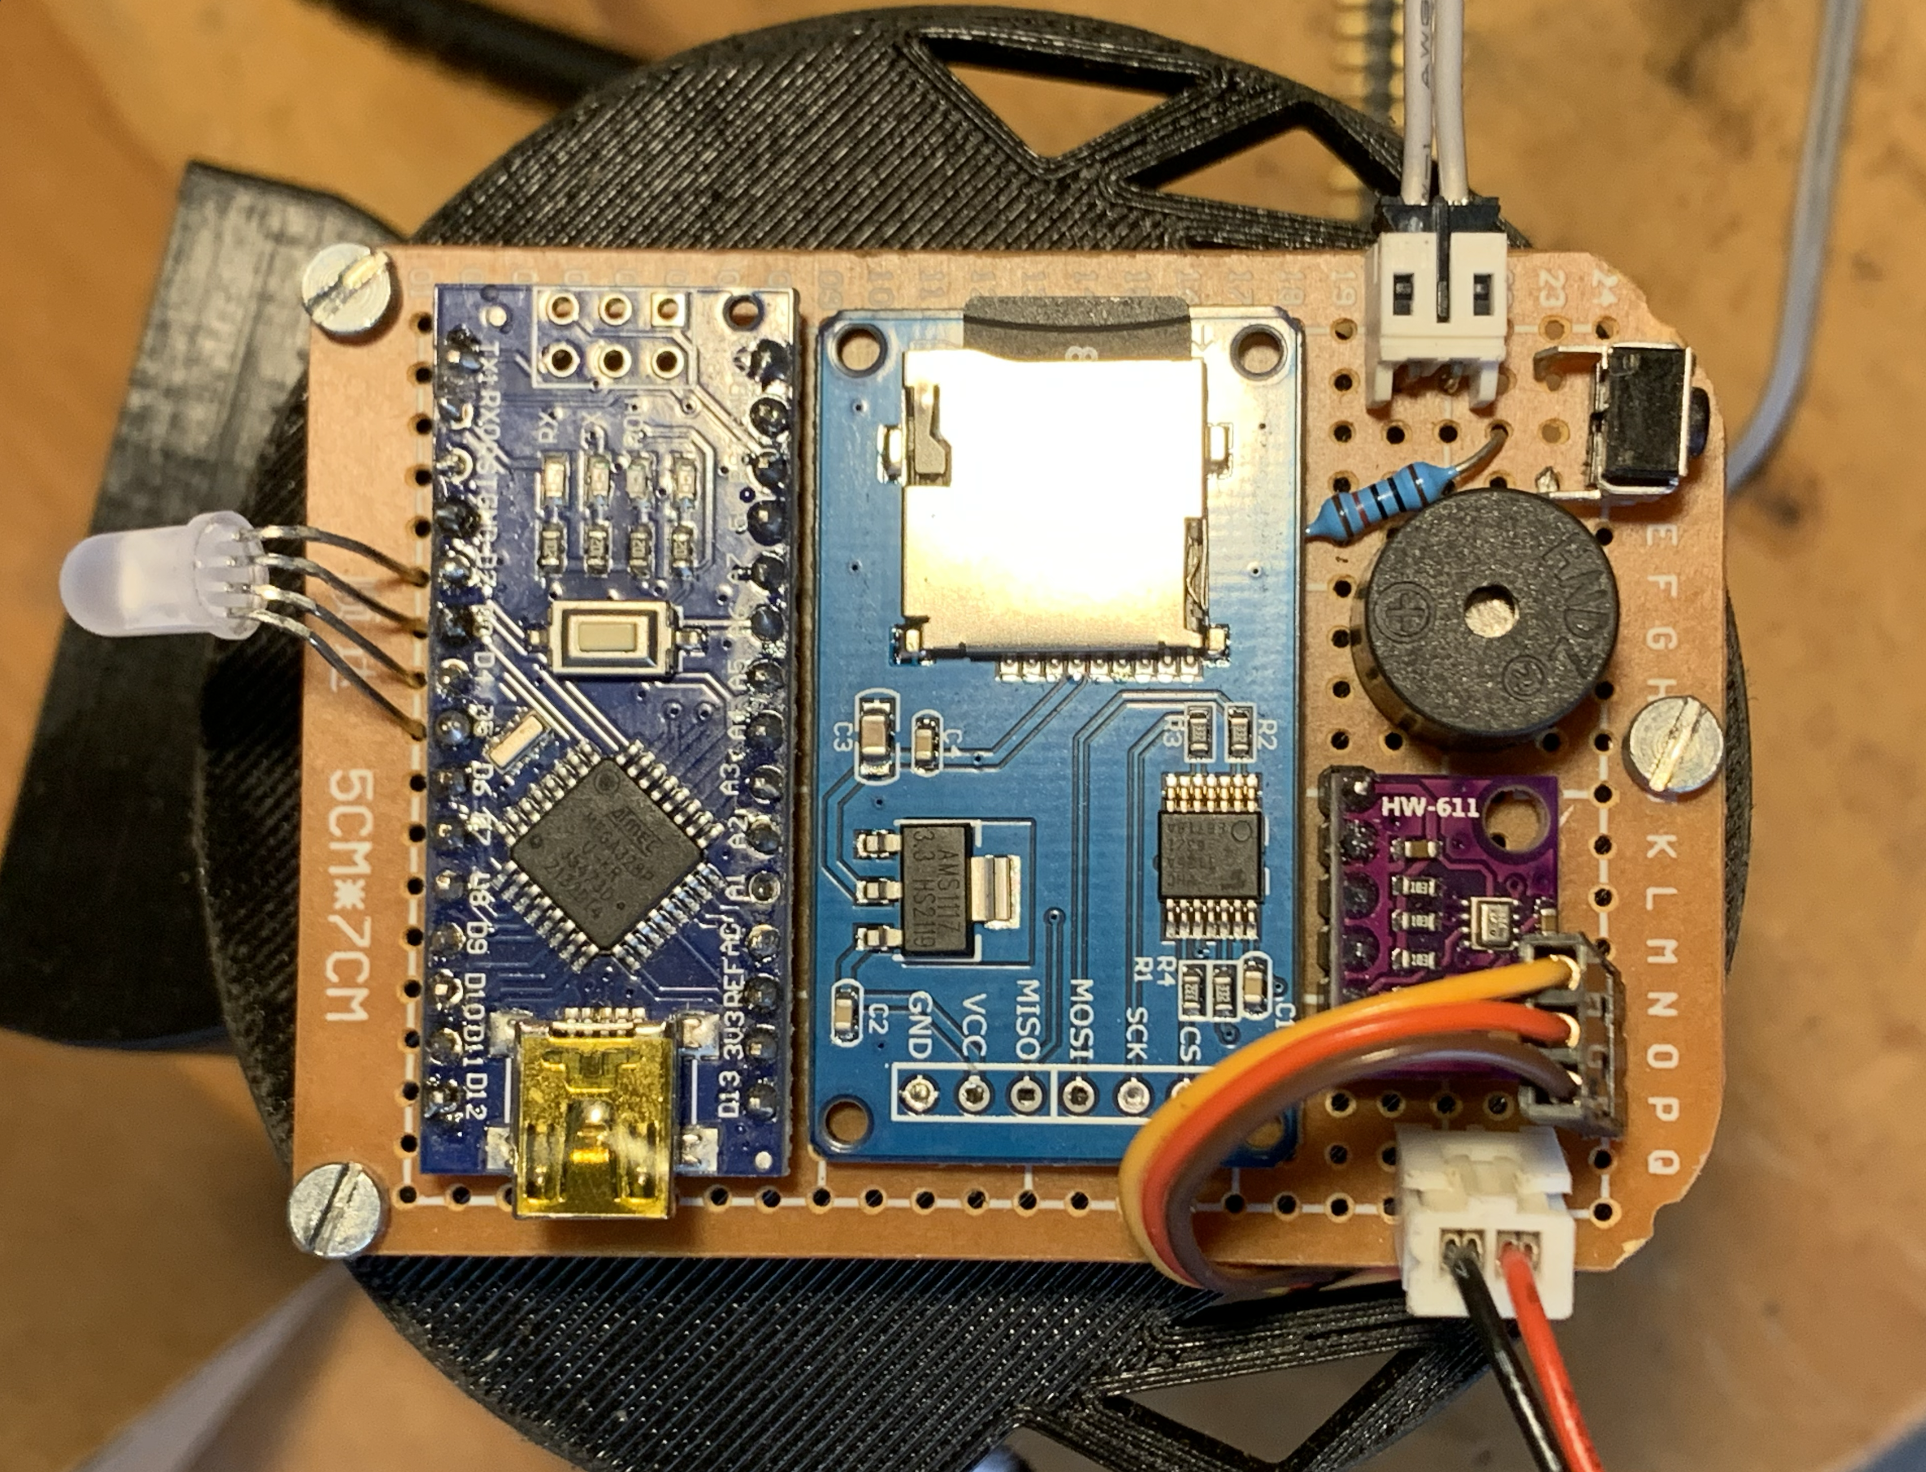
The custom-built flight computer featuring an RGB LED for error management and status indication.
Flight Data & Results
During the maiden flights, the rocket reached a top speed of 135 km/h. The telemetry data confirmed that the apogee detection algorithm worked flawlessly, deploying the parachute at the exact moment of zero vertical velocity. This project successfully bridged the gap between mechanical DIY and professional systems engineering.
